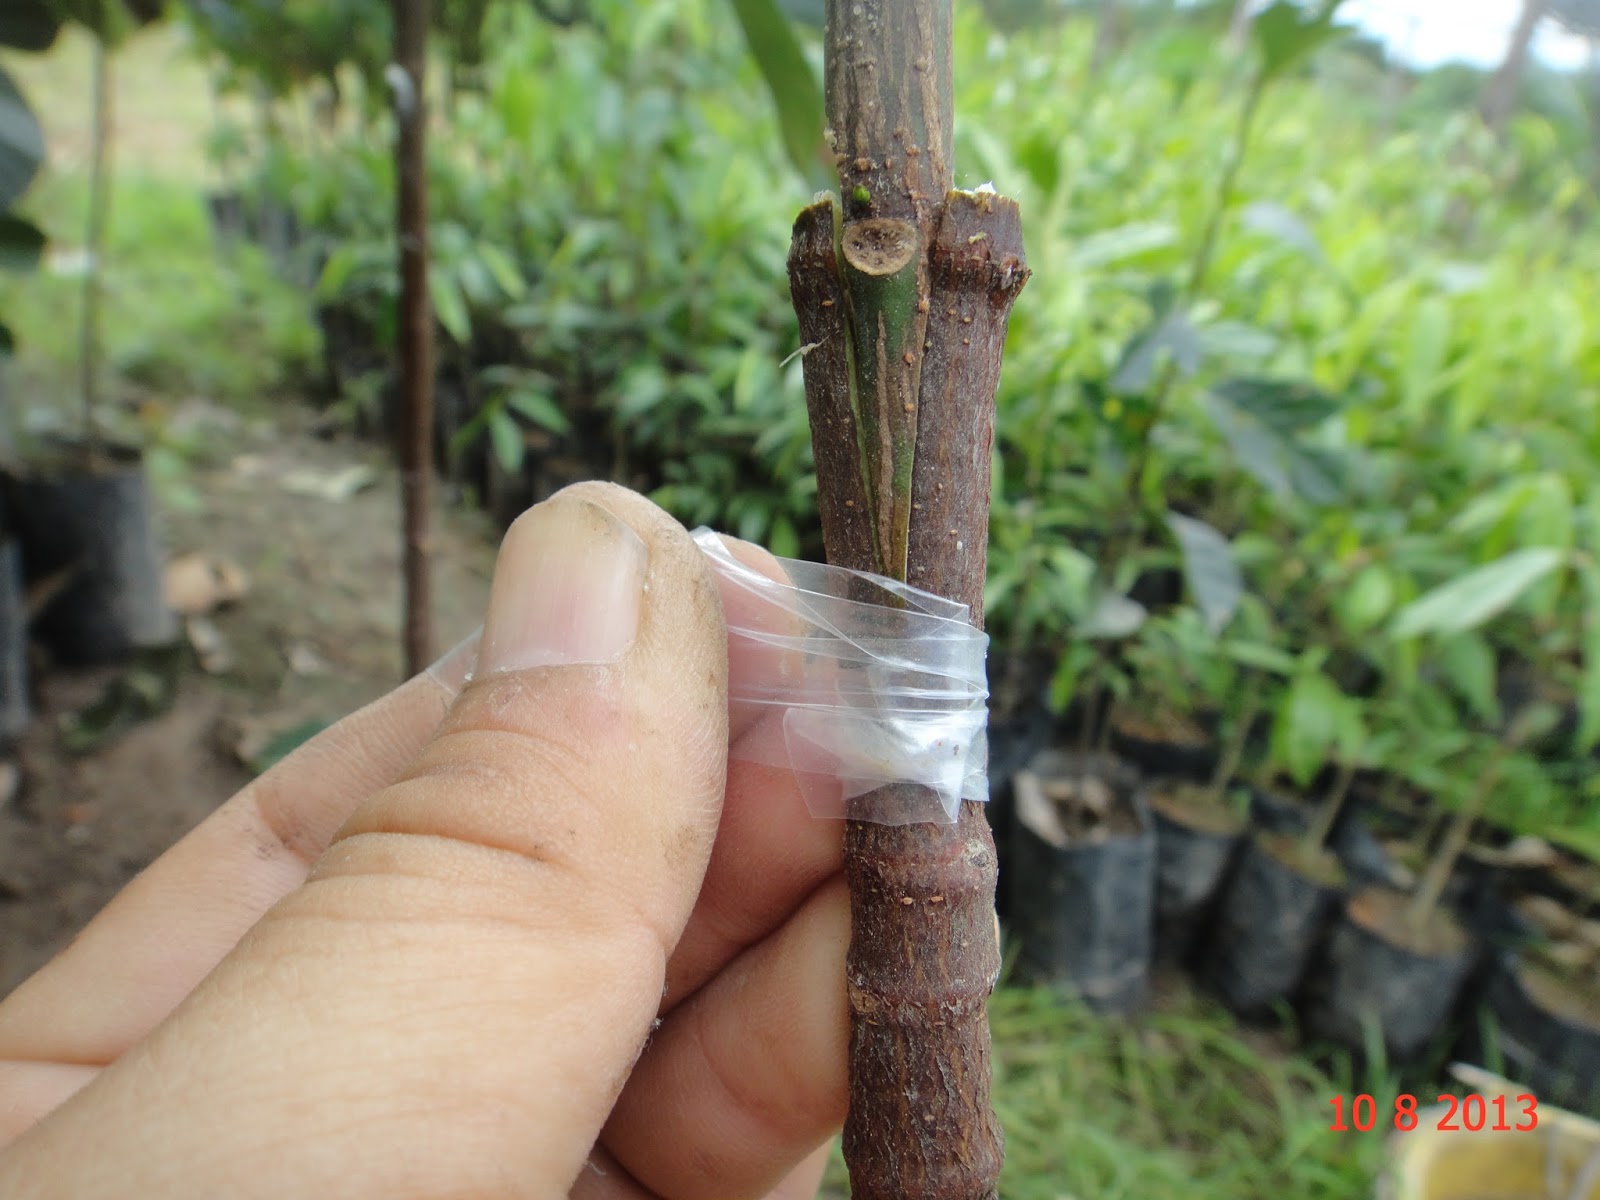
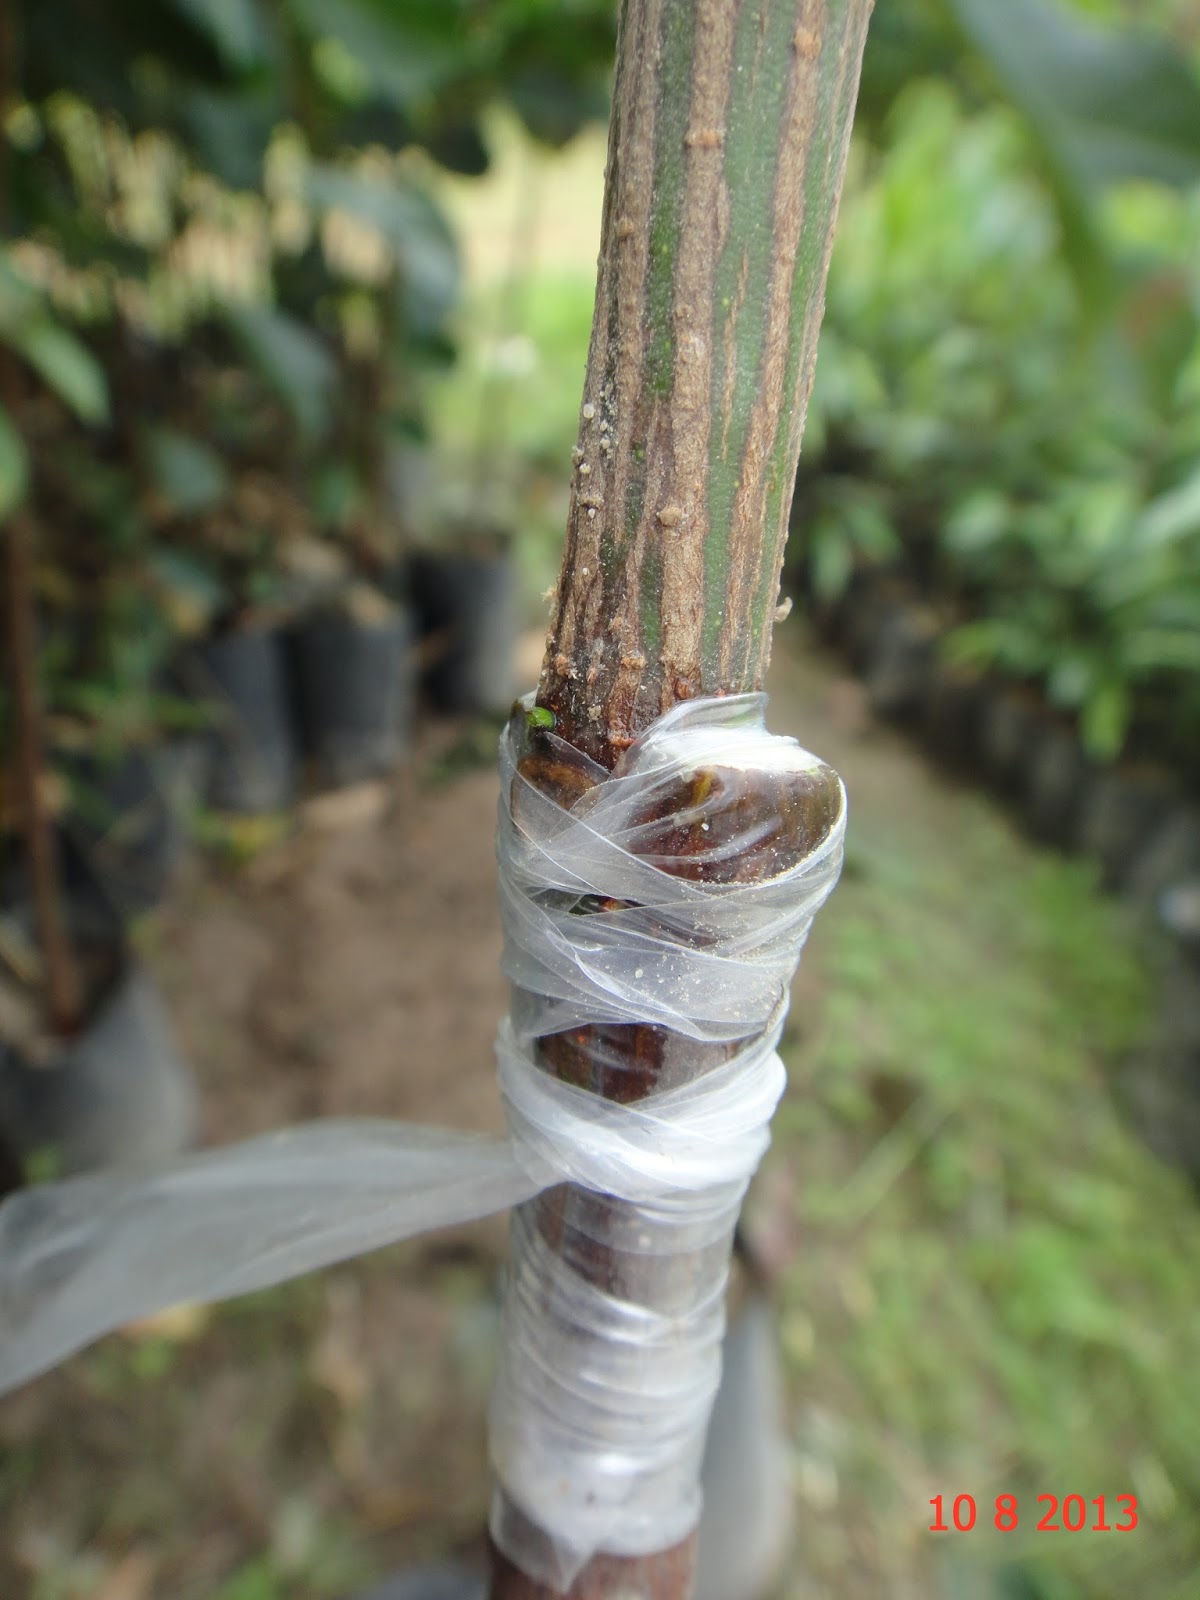
Grafting Jackfruits, Top Cleft, with plenty of pictures.
Out of the few methods that I've tested, I find this method of grafting top cleft easier and it's applicable for Avocado and Jackfruit. This also provide a strong joint when it fused, which should be good for strong wind. As I had been away from the farm, the seedlings are over grown. Anyway, it gives a lager size rootstock, thicker cambium (could be easier to match). Some are really too big and the roots had overgrown the poly bag.
I usually do grafting during the morning session, when it's not that hot and humidity is higher. I stop about mid day, unless it's a cloudy day, or rainy day.
Selection of scion, I just took the scion from one of the Jackfruit tree in our farm. Had tested the fruit from this tree before and it seems good. Had tried to identify the variety, could be J32 Mantin. I'll practice on this as the Honey Jackfuits had just been planted and not ready to use as scion.

If you are doing lots of grafting, in batch, it's advisable to prune your tree where the scion is sourced 3 to 4 weeks in advance. After pruning, there are more buds growing. Scion selection is very critical. Scion from the previous growth with butts just growing out is best. Too young, it's just dried off. Too old, it's difficult to shape as it's woody and hard. I prefer scion with at least 2 butts. As I'm still new and clumsy, there are chances of me damaging the buds during the grafting procedure. Find a good grip of the scion (without damaging the buds). Find a section which is straight as it's easier to align. The drawings that lots of sites uses, show that it's very straight forward, but in practice, it's difficult to find it that ideal. No worries, it's still do-able. Caution with the knife while shaping, we don't want to cut our fingers. The knife that I use is just a peeling knife. I like to use this as the tip curve forward giving more control (personal preference). Any sharp knife shall do. I can still remember when I just got started, and when things doesn't goes well, I tend to blame it on the equipment. I started buying different types of knifes. End of the day, it's my skill that needs improving. Oh yes, eep the knife sharp and clean.

Advantage of older growth, normally has a thicker cambium. Thicker the cambium, easier to align and have more contact. After cutting off the scion, take note which side of the cambium is thicker. I prefer to use a pruning scissors then a knife for cutting. On the other hand, too old a scion, it's hard and difficult to cut and shape. Again be careful not to damage the butts.
When I got started, I felt very awkward cutting off the rootstock. Hence I tried other grafting methods, then only I found that this method is good for Avocado. Not to worry, you are not killing the plant. It took me quite a while to get over this feeling, made worst by the latex oozing out. Even if not grafting, cutting off the plant actually promote growth. Again I prefer to use a pruning scissor for this. After cutting off the rootstock, quickly note where the thicker cambium is, before the latex start. Problem with Jackfruit is the latex and sometimes it gets very sticky.
Do a clean split, taking consideration of the wedge length of the scion. Do be very careful with the knife. Do a test fitting, you have 4 quadrant to test. find the fit best. Take your time, we are not doing a heart transplant, a couple of minutes would kill the plant. When all the quadrant don't fit well, a little re-shaping helps.
I normally target for at least one side to align and have good contact with the cambium. It's rarely that I get 4 sides aligned. I do usually try to match the diameter of the scion to the rootstock ( for smaller rootstock).
Tie it up with grafting tape, firmly. A big roll is RM$12 ~ RM$15. The tape is dual layer (I wonder why), I use it single and keep the other for the next graft. I prefer to wrap up all cut portion. This is to prevent water lost. Here are some pictures on the wrapping. I start with an over lapping the starting end. Grip the starting end with the right hand, the left hand on the rest of the tape (twisted). This shall give it a good grip. Note that I grip the tape as close to the stem as possible. The nearer it is the lesser length that the tape shall extend and lesser chance that it'll break. I tie it as firm as possible, without breaking the tape. You'll get the feel after a while (lots of broken tape). If the tape got broke off, just start again with a new one.
I usually do it clockwise (personal preference), again gripping it as close as possible. I use both hands, but the picture shows one as I need to use the other hand to shoot the photos. I tie is as a band, with 50% over lapping.
Be careful not to damage the buds. You may twist the tape so that it miss the bud.
I also use a twist to wrap the expose cut of the rootstock.
Before ending, I twist the tape to make it as a rope as it's easier to do a "d" end when the tape pass under the previous round.
The length of the tape depends on the diameter of the rootstock and height of the joints. After a while you'll get the hang of the length (cut it slightly longer). If it's short, it's very difficult to do the "d" end.
How I use my feet and knees to grip the poly bag while working on the wrapping. I wear thick jeans to the farm, only that it'll get soiled, especially after rain, when they are still wet.
It acts as a good clamp.
I cover the grafted plan with a plastic bag (reused), until I see the butt grows. This is to prevent humidity / water lost. It's very hot here. Keep the grafted plant under shade and water it at least once in 2 days.
This show a bud damaged (white dot latex) while grafting. Luckily there are more than one.
This shows a seedling with the roots out growing the poly bag. I did the grafting in-situ as would not want to damage the roots.
Couples more large sized seedlings. Those nearer to the left are mango trees.
My mobile grafting tools box. Glove, pruning scissor, knife, grafting tapes, plastic bags, multicide (insecticide for ants) and my Samsung Galaxy S 3 to provide music.
Trying out other style of grafting. Trying "I" budding on the overgrown rootstock as hard to split. Check on your plants a week later. Those that are not successful, the scion shall dries up and turn black by then. Check in detail as sometimes, the top dries up but the joint is still good and may have a good bud growing. You can then try again on the same plant, that the reason I do the grafting about 6 inches from the soil level. Just cut it lower and do again.
I still have not perfected my grafting skill yet, but am improving every time that I graft. If I can reach an average of 80%, maybe I can qualify as a Master Grafter. On a good day, all the grafting seems to fit perfectly. On a bad day (13th Aug)) toward the evening, every graft seems bad. Guess I was tired and stress out.
Go ahead, start your grafting. It's fun and a great way to help propagate the plant. Grafted plants fruits earlier and is a clone of the scion. Creating and expanding more Jackfruits earlier, It's a great satisfying feeling when the graft fuse and the bud starts to grow. Enjoy and good luck to us all.
23rd August
Had been doing some research on the internet since I'm at home. It seems that the most suitable grafting for Jackfruit (and Mango) is modified Veneer Grafting. Had tried this before and it didn't worked for me. Upon further research, I found a couple of sites mentioning that the joints should be at least 2 inches long ( one site says 3.5 inches). Maybe I did it too short. May try this out again when I'm back at the farm.

 Posts
Posts